Midjourney 5.2: A Guide to the Latest Tools and Features
On June 22, Midjourney announced the rollout of version 5.2 of its text-to-image AI model via Twitter. The latest update to the program since the company announced the release of V5.1 in May, V5.2 comes with some fun updates and toys that AI art lovers are already experimenting with in highly creative ways. The upgrade can produce some seriously impressive results, but like any tool, it works best when you have an idea of its capabilities and limits.
If you’re unfamiliar with how to use Midjourney in general, head over to our guide on the image generation program first before diving in below. Here’s everything you need to know about the V5.2 model and its new suite of tools.
Zoom Out tool
If you want to play around with V5.2, you don’t need to do anything to set it up; the model updates have been automatically loaded to your user settings and will take effect the moment you put in a prompt. The first feature we’ll look at is Midjourney’s Zoom Out function.
Similar to Adobe’s Generative Fill tool, the zoom feature allows users to expand upon an original image, broadening its scope to a wider scale while keeping the details of the original image the same. After inputting a prompt via the “/image” command, Midjourney will kick out four visual iterations in a grid based on the user’s input. They may then “upscale” the particular image they like the most, rendering it in higher detail.
From here, users will now see three buttons underneath the upscaled image labeled “Zoom Out 2x,” “Zoom Out 1.5x,” and “Custom Zoom.” While the first two will zoom the original scene out to two and one-and-a-half times the scale of the original image, respectively, “Custom Zoom” will allow you to fine-tune that ratio (via a simple, manual prompt edit) to anything between 1.0 and 2.0. If you go higher than 2.0 with your prompt, Midjourney will return an error message instructing you to keep the figure between those two values.
The fun thing to play with here is the potentially endless zooming options. If you zoom out on your output, you can then take that upscaled image and reapply the Zoom Out 1.5/2x feature as much as you want, and it will continue to build on your ever-expanding image.
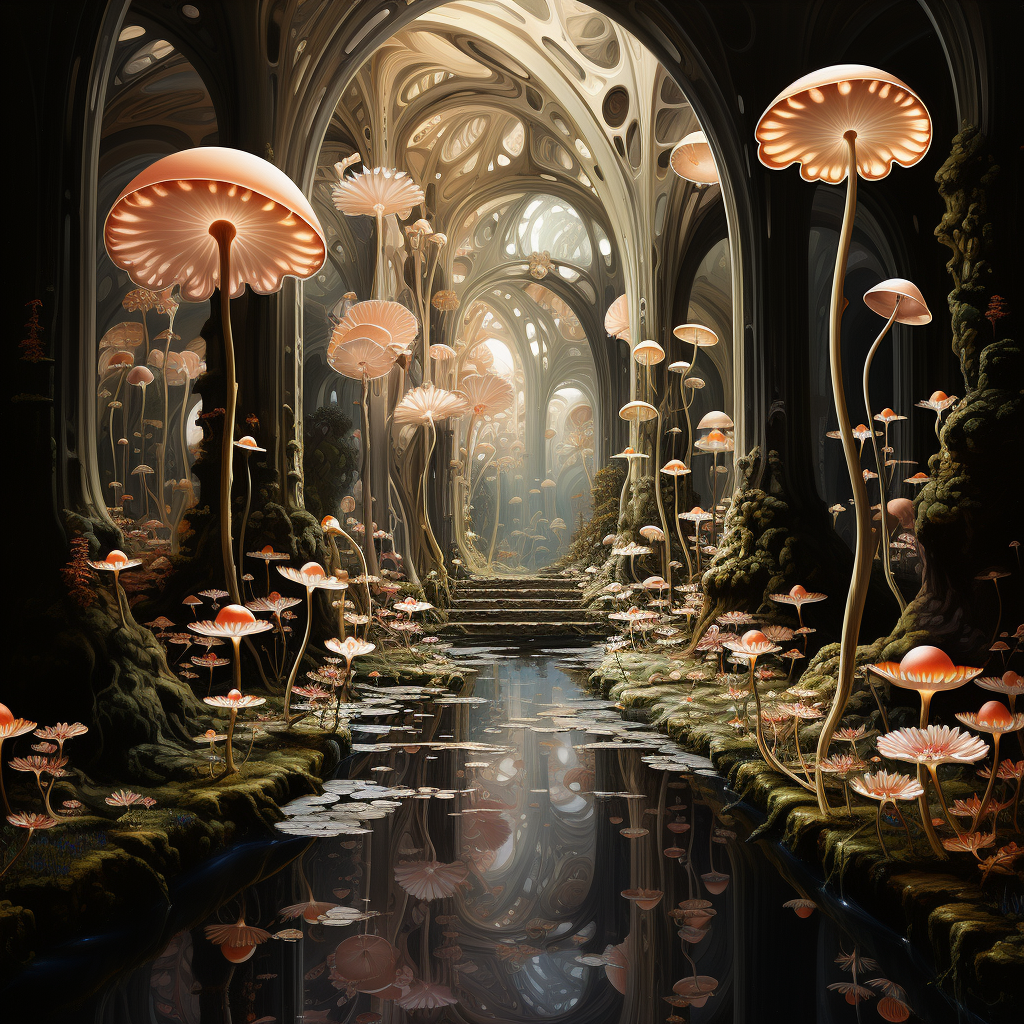
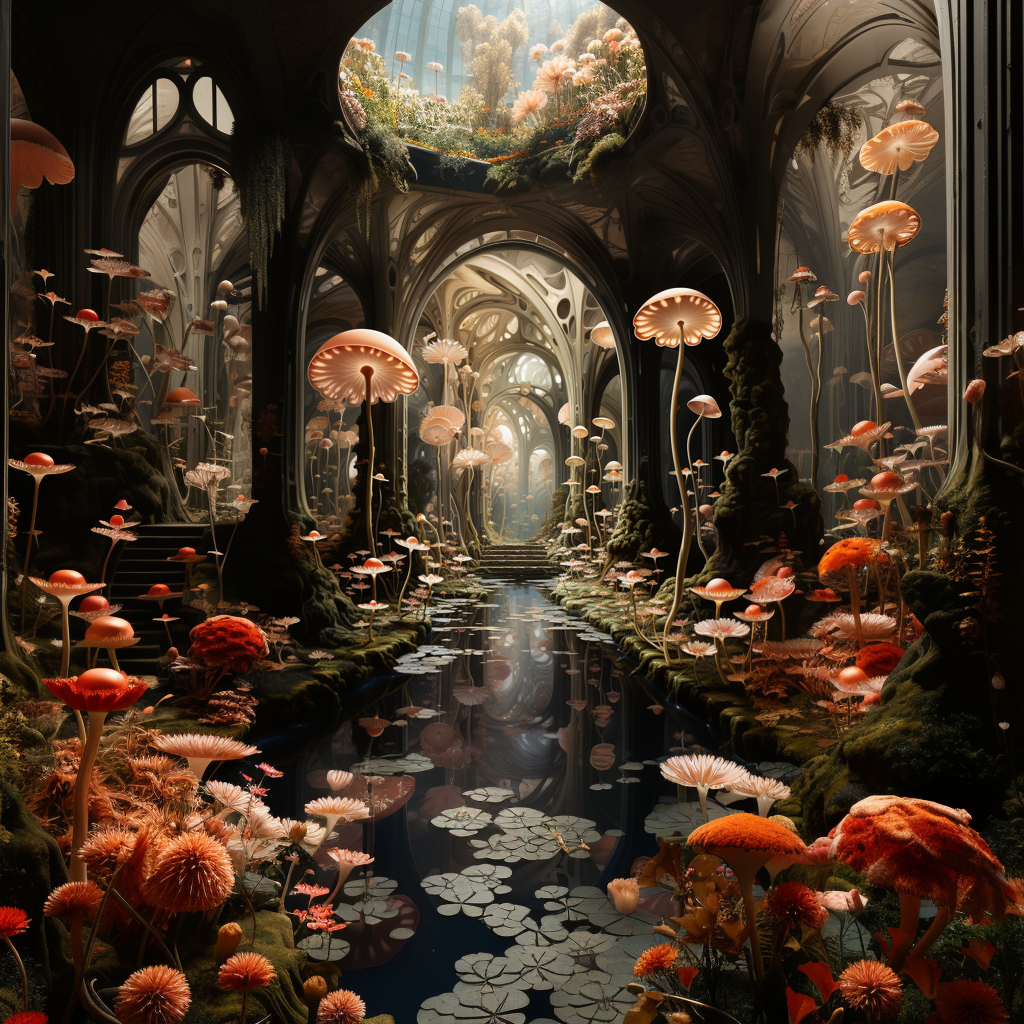
Expanding on an existing image to create a visually coherent environment is a great way for creatives to take their ideas to another level. The Twitterverse has been gushing over the release since it dropped, with many individuals sharing their ideas on how creatives might be able to utilize the updated model, including using image interpolation and edits in software like Final Cut Pro to create some compelling visuals that border on featuring an infinite-zoom aesthetic.
Make Square feature
The update also comes with a “Make Square” tool, which alters the shape of images made in an aspect ratio other than a perfect square form. Landscape images (made with the ending prompt command of –ar 16:9) can be expanded vertically using the tool and vice-versa. Look for the arrows next to the “Make Square” button, which indicate in which direction the resizing will occur.


Variation Mode
Midjourney V5.2 also comes with a new feature called “Variation Mode” that essentially allows users to hone in on the kind of visual nuance and change they want to apply to their outputs. Use the prompt command “/settings” to set this feature to either “High Variation Mode” or “Low Variation Mode.” High variation leads to a slightly greater visual diversion from the original output, which may lead to more interesting or exploratory results while keeping the setting low will tend to allow for greater visual consistency.
The examples below utilized the same visual seed and prompt, with the left outputs originating from a “low variation” and the right set to “high.”


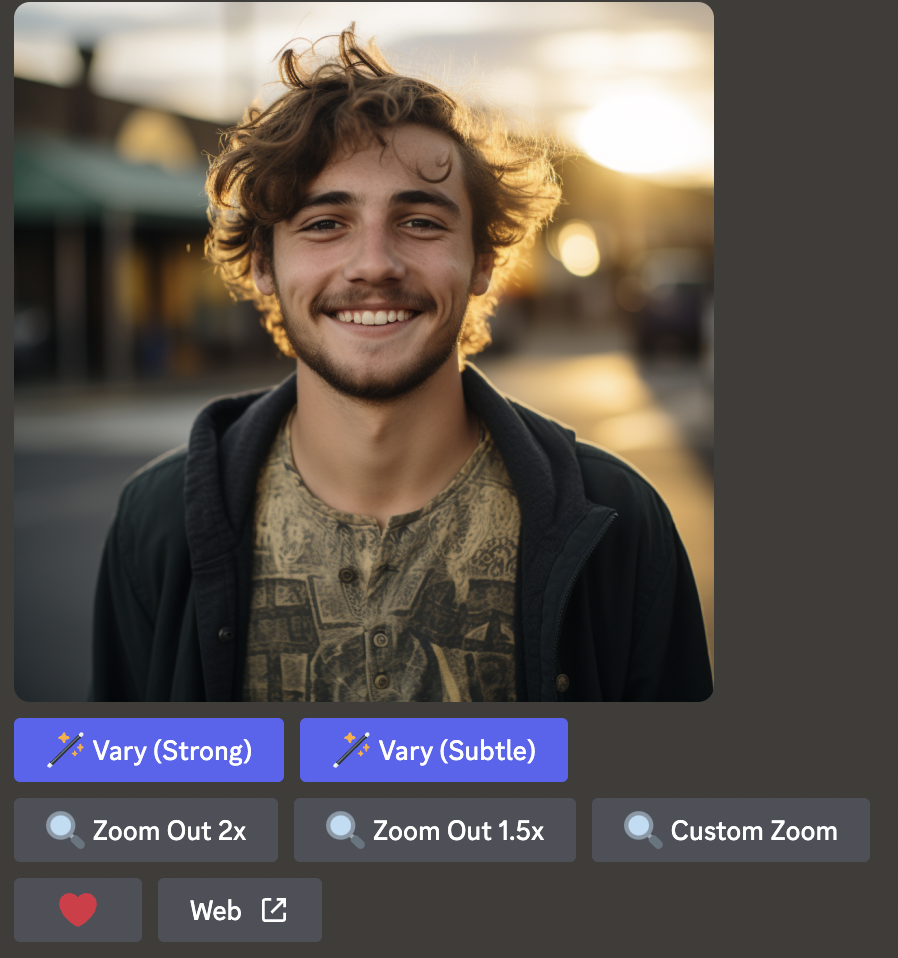
Midjourney also now offers a more localized version of this feature when upscaling an image, allowing you to “Vary (Strong)” or “Vary (Subtle)” a single output. This is similar in feature to Variation Mode, but it allows you to apply the tool in specific instances without broadcasting its effects to all of your work. If you’re looking to really do some experimenting, combine “High Variation Mode” with “Vary (Strong)” for the best results.
Shorten command
One of the biggest misconceptions about Midjourney is that if you use more words in your prompt, you will automatically see better or more detailed results. While creating detailed prompts can result in more appealing outputs, more often than not, overly verbose prompts negate the impact of each individual word, resulting in blasé outputs that are less likely to match what you had in mind.
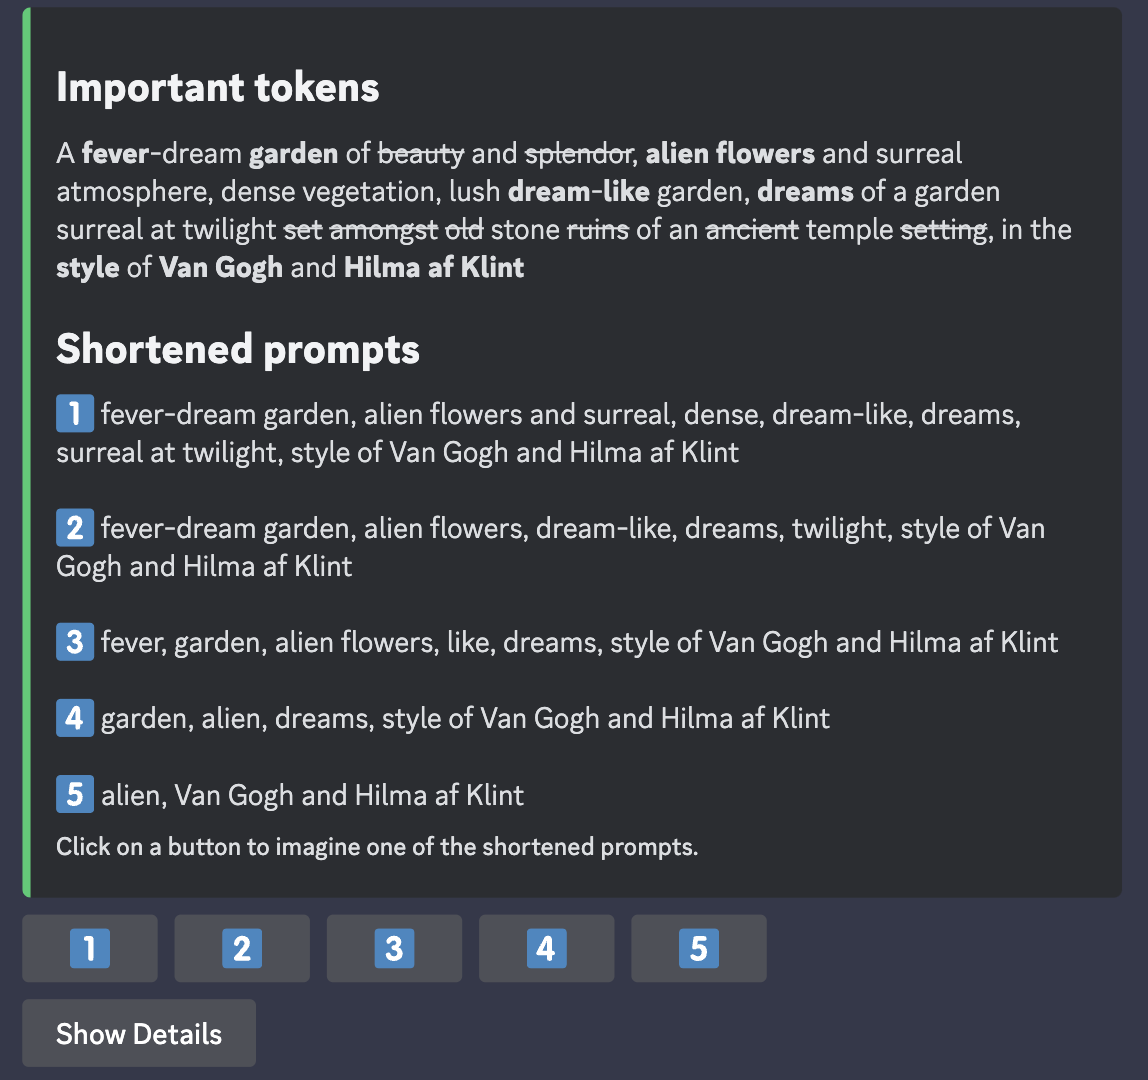
One useful way to get around this is to use Midjourney’s “Shorten” command. Simply type “/shorten” and insert your wordy prompt. Midjourney will analyze its components and suggest a few alternatives for you to use.
Stylize
Midjourney is trained to create images that have an artistic flash and lush visual aesthetic, which is one of the things that sets it apart from programs like Stable Diffusion. One of the ways users can lean into this effect is by using the “Stylize” function. While users were previously able to add “–stylize X” to the end of their prompts (with figure X ranging anywhere from 0-1000), V5.2 has taken the model’s existing stylize capabilities and turned them up to 11 in terms of realism and flair. Here are just some of the images people are making using the new model.
The post Midjourney 5.2: A Guide to the Latest Tools and Features appeared first on nft now.

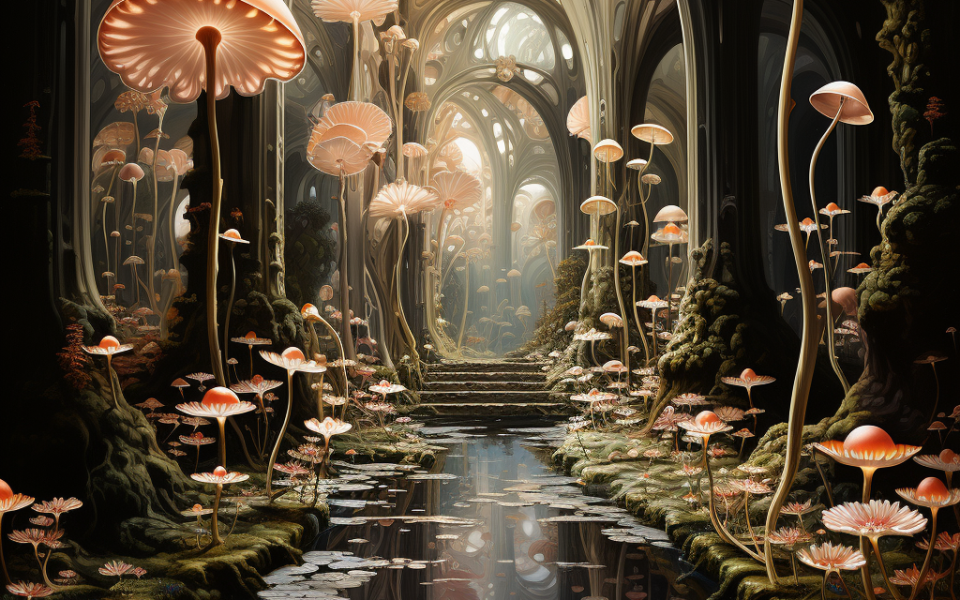


 (@GanWeaving)