How To Improve Your Emails With a Handwritten Signature
Email is the darling of the marketing world, and for a good reason. With 99% of email users checking their inbox every day, it’s an excellent way to connect with customers.
However, the popularity of email marketing means you have to work harder to stand out among competitors. It’s not enough to just write great content. You have to make your emails feel personalized and look professional too.
We’ll show you how you can create a handwritten signature for your emails to give them an extra human touch.
Why You Need a Signature
Of the billions of emails sent and received every day, more than half of them are spam. As a professional, you want your emails to look trustworthy and credible so customers don’t discard them.
Creating a high-quality, handwritten email signature helps you build trust with customers. You can also use the signature to reinforce your brand identity, evoke professionalism, and add a personal touch.
You can create a handwritten signature in five straightforward steps. Let’s dive in.
1. Go to a signature maker website.
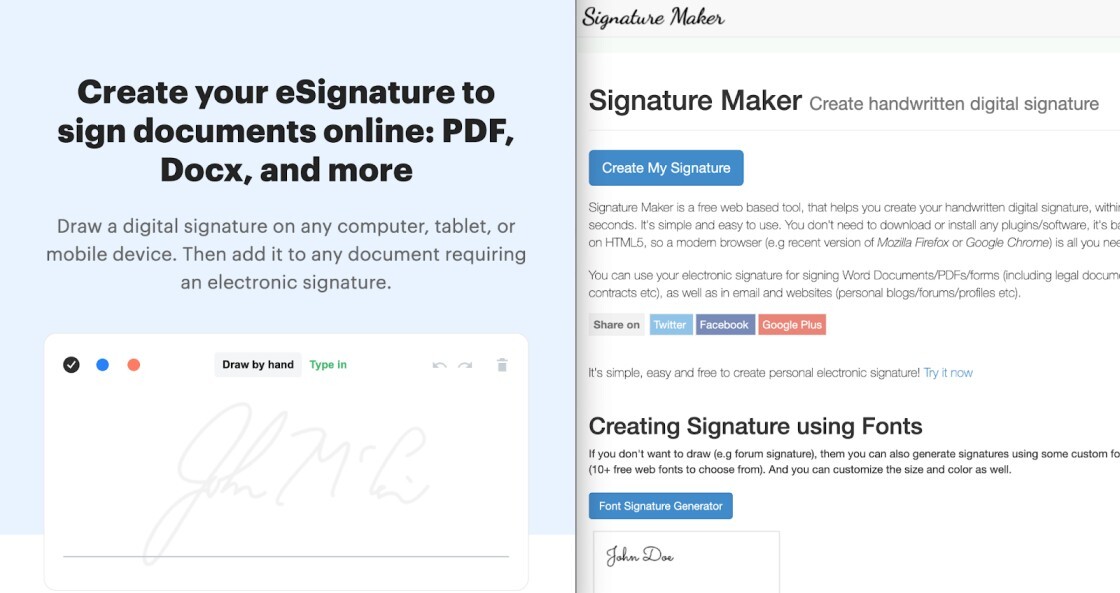
To create a handwritten signature, you need to use an online tool. The good news is that several websites like Signature Maker and Create My Signature digitize your cursive signature for free.
If you want your signature to match your brand colors and style, look for a tool where you can customize the thickness and color of your “digital pen.”
2. Select “Create My Signature.”
Once you go to Signature Maker or another tool, select the “Create My Signature” button.
If you use another online signature maker, you might be given the option of typing or drawing your signature. Select the “draw signature” option.
3. Specify your pen settings.
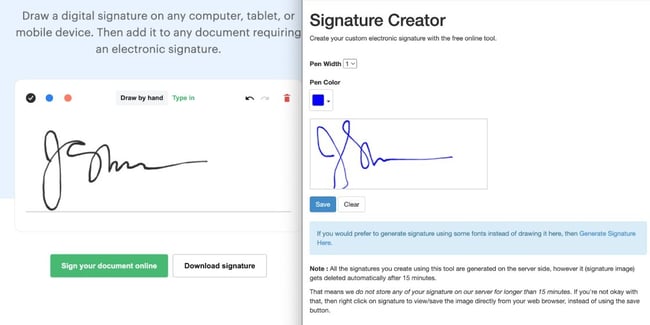
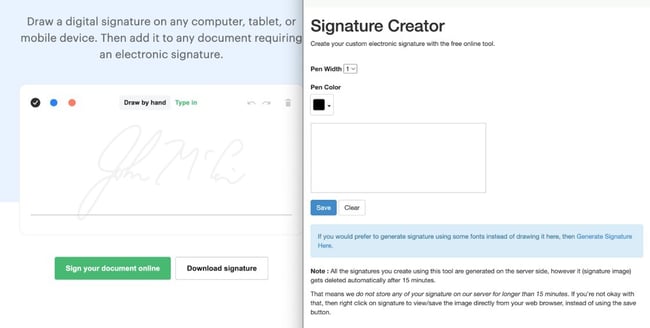
On the electronic signature maker page, you have two customization options for your pen: width and color.
Use the numbers to select the pen width. Higher numbers generate thicker lines. Then, you can choose a pen color.
The tool has three categories for colors: basic, saved, and advanced. If you can’t find the right color in the basic selections, you can use the advanced tab to select your color and adjust lightness and saturation.
In general, it’s best to use a black pen or choose a color that matches your branding. When using a color that fits your brand, ensure that it’s easy to read on a computer.
4. Draw signature.
Once you have the settings customized to your liking, draw your own signature using your mouse. If you’re on a touch screen device, you can also use your finger or stylus pen.

You can use the “Clear” button to start over if you don’t like your drawing or want to change your pen settings.
Learning how to do a signature with your mouse or trackpad can be challenging, so you can always try on a touch screen device or generate a cursive signature using handwritten fonts.
5. Save and download your handwritten signature.
When you have a handwritten signature that you’re happy with, click “Save.” You’ll then see a button that says “Download Signature.” Click the download button to save your digital signature as an image file (.png or .jpg format).
Your downloaded image will have your personal signature against a transparent background. That way, you can add it to emails and even use it to electronically sign PDF documents.
How To Add Your Handwritten Signature to Emails
Now that you have a file with the image of your signature, it’s time to add it to your emails.
Option 1: Create an Email Signature Using a Professional Template
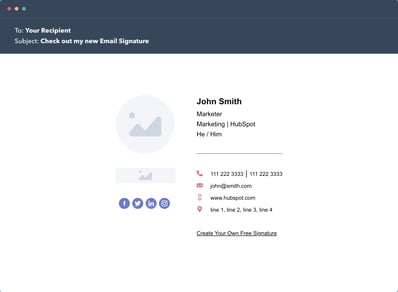
If you want a more professional signature with more formatting options and social media icons, you can create one using HubSpot’s free Email Signature Tool.
Before you get started, you’ll need to upload the image file with your handwritten e-signature to Dropbox or Google Docs to get the image URL.
Once that’s done, navigate to HubSpot’s Email Signature Tool, and select a template on the left-hand side.
Use the second tab to enter your signature details, including your name, job title, and contact information.
Then, navigate to the fourth tab, with the picture icons, to upload a custom image.

Go to your Dropbox image and click on “Copy URL” to get the link to your digital signature image. Paste the link under “Profile Picture” on HubSpot’s tool to add your handwritten signature.

You can use the third tab, with the paintbrush icon, to change the theme and colors of your signature to match your brand.
Once you have the perfect signature, select “Create Signature” to fill out your information and download your new email signature.
Option 2: Using Your Email Client Signature Settings
Since your signature file has a transparent background, you can upload and insert it as an image in your custom signature using your Gmail or Microsoft email settings.

Make sure you resize the image manually or use the “small” size to ensure the signature image isn’t too big.
Final Thoughts: How To Create a Handwritten Signature for Your Emails
Email marketing is one of the best channels for reaching customers, and your competition knows it too. If you want to stand out, you have to pay attention to every element of your email, not just the content.
Using a professional template with a handwritten signature balances professionalism and personalization in a way that helps you stand out from the crowd.
![]()


